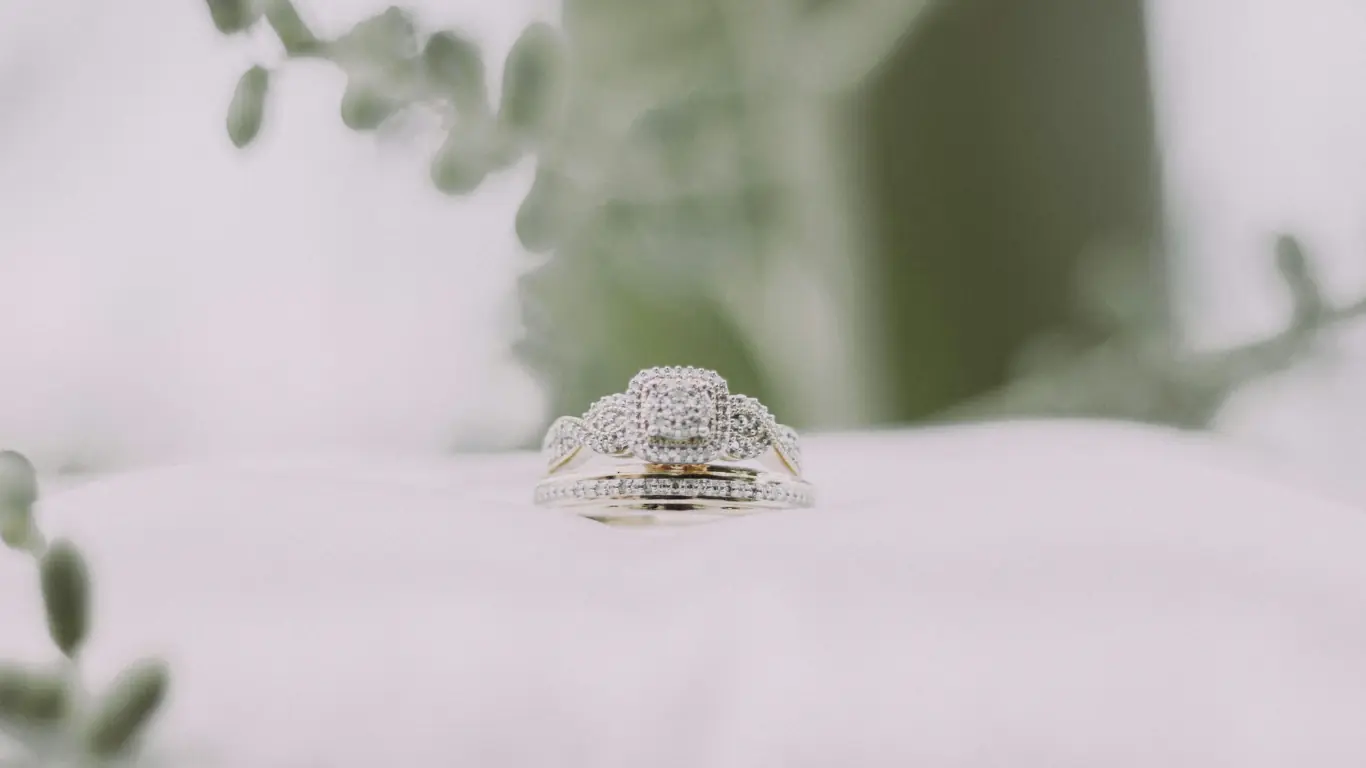
Cutting diamonds is a precise art, blending skill, patience, and the right tools. Here’s a step-by-step guide if you’ve ever wondered how those stunning gems go from rough stones to eye-catching beauties in jewelry stores. Remember, this task requires precision and care to achieve all 4 C’s of diamond quality.
1. Planning
Before any cutting happens, you need a plan. Diamond cutters study the rough diamond carefully, deciding how to cut it to get the best size, shape, and brilliance. This step is about looking at the diamond, understanding its qualities and flaws, and figuring out the best way forward. It’s about maximizing beauty and value while minimizing waste.
2. Cleaving or Sawing
This step is all about breaking down the rough diamond into smaller, more manageable pieces that we can turn into those shiny gems everyone loves. Let’s break down the two methods used in this step: cleaving and sawing.
Cleaving
Cleaving is the old-school way of splitting a diamond. It’s a method that takes advantage of the diamond’s natural structure. Diamonds have certain lines along which they’re more likely to split, kind of like how wood has a grain. The cutter looks for these lines and then uses a special tool, basically a small blade, to hit the diamond at just the right spot. It requires a good eye, a steady hand, and a lot of knowledge about diamonds. After that, the diamond splits along its natural lines, creating pieces that can be further refined into beautiful gems.
Sawing
Sawing is a bit more modern and gives the cutter more freedom. Sometimes, the natural lines of the diamond don’t match up with the shape the cutter wants to achieve. Using a thin blade coated in diamond dust, the cutter can precisely cut the diamond into almost any shape it needs. This method is more flexible than cleaving, but it also takes more time and can lead to more waste.
Which Method to Use?
Deciding whether to cleave or saw depends on the diamond itself and what the final gem is supposed to look like. Cleaving is faster and works well with diamonds that have clear, natural lines. Sawing, on the other hand, is perfect for more complex shapes or when the natural lines of the diamond don’t suit the plan.
3. Bruting
Bruting, also known as girdling, is the process of giving the diamond its basic shape. The rough diamond is mounted on a spinning axle. There’s another diamond mounted on another axle facing it. When both diamonds spin, they touch and grind against each other. This action slowly but surely shapes the diamonds. It’s a bit like using sandpaper on wood, but in this case, it’s a cutting diamond. How to cut diamonds the hardest material? Because it’s the hardest material out there, and only a diamond can effectively shape another diamond.
This step is crucial because it’s all about getting the basic shape right. Before bruting, the diamond doesn’t look like the gems you see in jewelry. After bruting, it starts to have that familiar shape we all know and love. There are a lot of different shapes of diamonds. This isn’t about making the diamond sparkle yet – it’s about setting the stage for the next steps, where the real shine and sparkle will come to life.
The skill in bruting lies in how the diamonds are held against each other and how much pressure is applied. Too much pressure and the diamond could be damaged; too little, and it won’t shape correctly. It’s a balance, and getting it right takes a steady hand and a lot of experience.
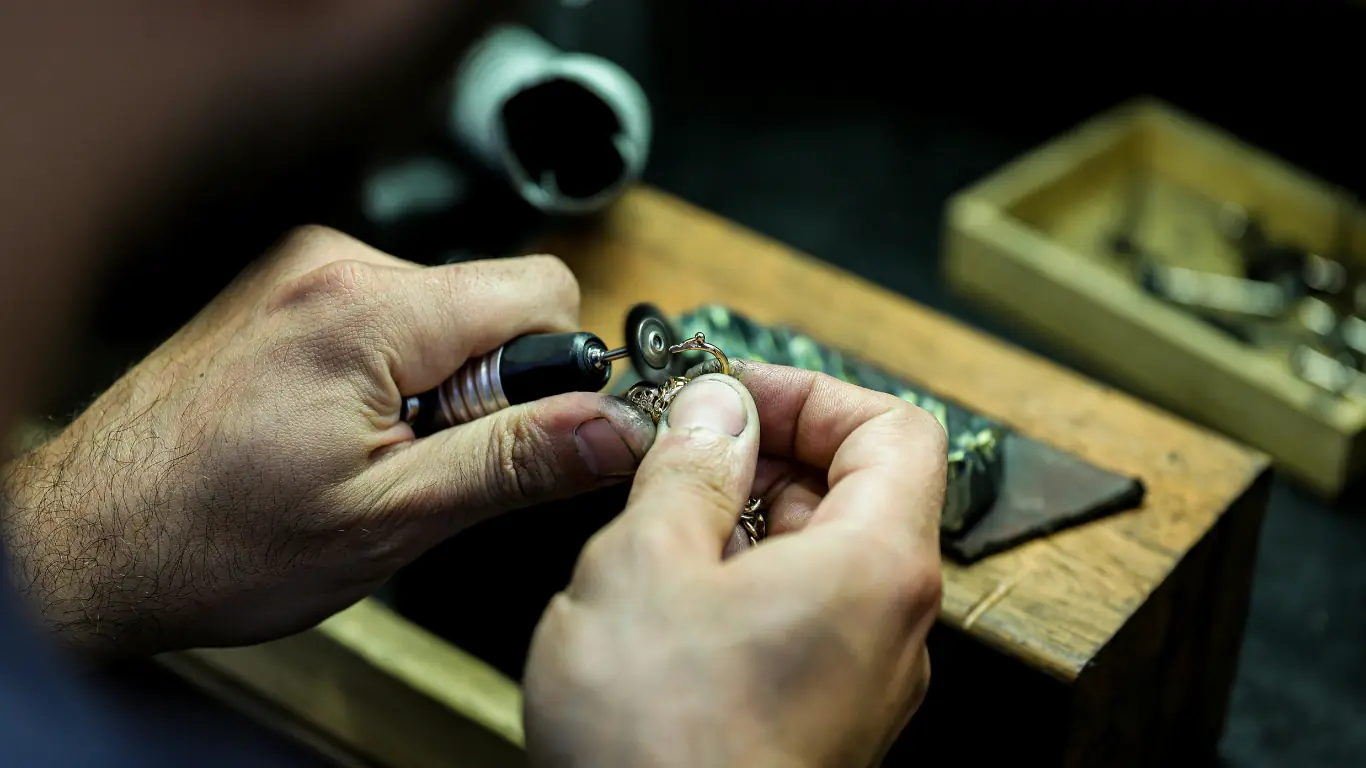
4. Polishing
After bruting, it’s time for polishing, where the diamond truly starts to shine. The cutter uses a polishing wheel to smooth and shape each facet (flat surface) of the diamond. This wheel is coated with a fine diamond powder because onlya diamond can polish another diamond (it’s the hardest material out there, after all). The cutter holds the diamond against this spinning wheel, applying just the right amount of pressure to smooth out the surface.
It sounds simple, but you need to be very skilled. The cutter has to know exactly where to place each facet for the best look and how to angle them to catch the light beautifully. They work slowly, checking their work as they go, because once a bit of the diamond is gone, there’s no putting it back.
Each facet needs to be carefully crafted, and there can be dozens of them on a single diamond. Cutters spend hours making sure every angle is just right and that the diamond’s surface is absolutely smooth. A well-polished diamond will have more fire (those flashes of color) and scintillation (the sparkle you see when the diamond moves). It’s what makes diamonds so special and sought after.
5. Final Inspection
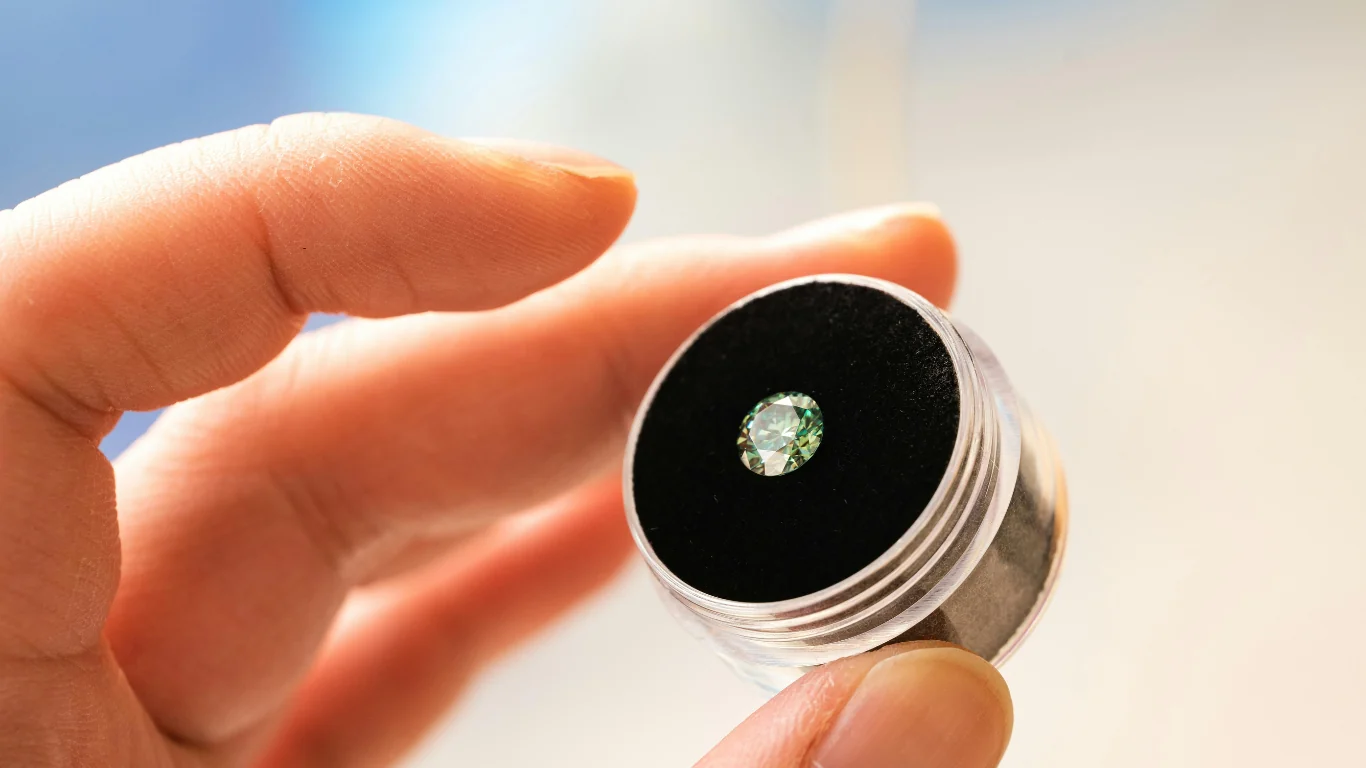
In the final inspection, every aspect of the diamond is checked with a keen eye. The inspector looks at the size and shape, making sure the diamond matches the plan they started with. They check the weight because even a tiny bit off can make a big difference. The angles and alignment of the facets are next. They need to be just right to catch the light and make the diamond sparkle.
But it’s not just about looks. The inspector also checks for any damage that might have happened during the cutting and polishing. Even a small chip or scratch can lower the diamond’s value. Everything has to be perfect, or it’s back to polishing to fix any issues.
It’s the difference between an okay diamond and one that takes your breath away. It’s about making sure all the hard work is worth it and that the diamond is ready to shine its brightest.
This process might sound straightforward, but each step requires a high level of skill and experience. The transformation from a rough stone to a stunning diamond is a remarkable journey. Next time you see a sparkling diamond, you’ll know a bit more about the journey it took to get there.